
Sharing ONE file or folder on OneDrive
If you have OneDrive, there is a good chance you have wanted to share files with someone, but not ALL your files. It is possible to do this. There are two types of accounts on OneDrive, and the sharing procedure is different depending on which account type you have. If you have a BUSINESS (work or school) account, see the Business Account instructions. Otherwise, continue for the PERSONAL account instructions.
Personal Account Instructions
Begin at your OneDrive account on their website; sign in.
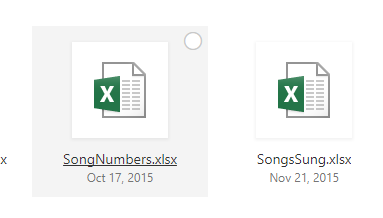
Choose the file(s) or folder(s) you want to share. When you hover over a file or folder, a circle will appear in the upper right (see below); click the circle to choose it. Multiple items may be selected.
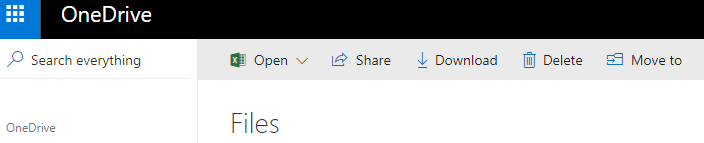
After choosing one or more items, click “Share” at the top of the screen.
A box will appear, asking whether you desire to “Get a link” or “Email” – just above that, there is a dropdown with a choice about how it is shared. This gives you the options to allow editing of the file, and to set a date when access will be removed.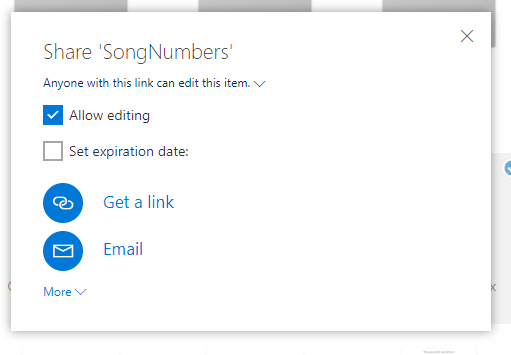
You may have notice the little text below Email that says “More” – this gives you more sharing options: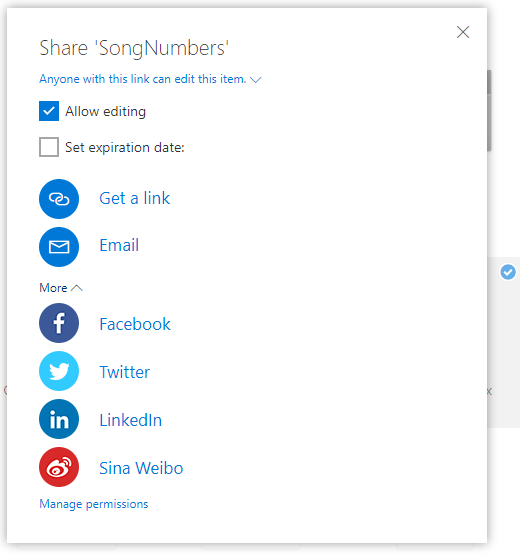
Clicking “Manage Permissions” at the bottom of the window will bring up a sidebar that allows you to add people individually to the file(s) or folder(s) – choosing to add people will bring up the same Share box as above.
Get a Link
The Get a link option will provide you with a link that lets you share the file(s) or folder(s) with anyone – on social media such as Facebook, Twitter, or LinkedIn… anyone who has the link can view (and possibly edit, depending on the setting you chose) the file(s) or folder(s) included. This method of sharing does not require a login by the people viewing.
Clicking “Get a link” will change the text to an input field containing the link, with a button after it labeled “Copy.” Clicking the button will copy the link to your clipboard, ready to paste wherever you like.
Edit or not?
If you Allow editing when you share files or folders, people with whom you share can edit the files and add or delete files in a folder. The recipients can also share the files or folders, and add or remove people on the list, and change permissions for recipients, as well as copy, move, edit, share, rename, and delete anything in a shared folder.
If you do not allow editing (by unchecking the box), people with whom you’ve shared the link can view, copy, and download the items, and can also forward the link to others.
The Email option gives you a form which asks for a name or email address, and has room for a message. The file(s) or folder(s) will be automatically attached. If you included a message, it will be at the top of the email, with the body of the email looking like this (in which SongNumbers is the title of the file shared): 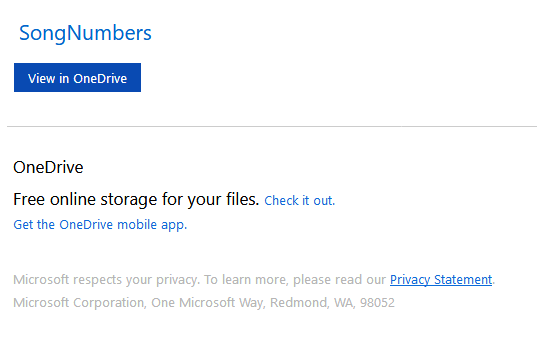
If you have contacts saved in Outlook, beginning to type a name or email address in the box will drop down a list of matching contacts, from which you can select by clicking.
Manage Access
In the right sidebar that allows permission management, you will see, when clicking on a shared file or folder, something like this: 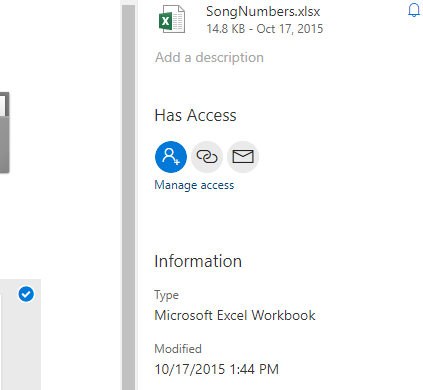
The Manage access link will change the sidebar to the following: 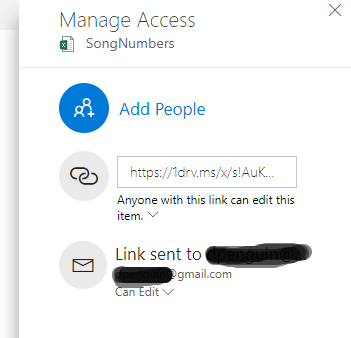
If you have only created a link, or only shared via email, then the information shown will reflect that.
Clicking the text under the link that says “Anyone with this link can edit this item” will offer the options to set an expiration date or to remove the link (thus removing access).
If you have emailed the link, it will show you to whom. Clicking the text “Can edit” will give you the options to “Change to view only” or “Stop Sharing.”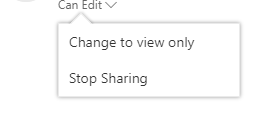
Notes from Microsoft:
- If you have trouble sharing from Outlook.com, see Can’t share OneDrive files from Outlook.com.
- If your Microsoft account is set with Family Safety, and your parent has turned off contact management, you can only share items with people who are already on your contact list.
- Please respect copyright and be careful what you share online. Copying or sharing unauthorized materials violates the Microsoft Services Agreement.
See What You Have Shared
In the left bar, click on Shared, then Shared by me.
NOTE:
If you test this and find that your recipient has access to more than what you shared, you may need to remove access, reset your browser, clear your cache, and try again, according to Microsoft.
Business Account Instructions
Once you are logged in to your work or school OneDrive, click on the file(s) or folder(s) you want to share and select Share.
Enter the names of the people with whom you are sharing, and add a message, if desired. At this time, you can adjust the type of link. In the Details box, you can manage access and edit options.
- Who would you like this link to work for – what you see here will depend on the admin settings, but in general, the options will include two or more of the following:
- Anyone – anyone who has the link will be able to access the file(s) or folder(s), no matter how they got the link.
- People in [your-organization] – everyone who is part of your company or organization will have access to the link, whether you send it to them or someone else does.
- Specific people – only specified people will have access; if unspecified people get the link, it will not work for them.
When you have finished choosing people and options, click Send.
Copy Link
You can also get a link to send; choose the files and click Copy link in the upper bar to get a link to copy. You can change the type of link with the dropdown, which opens the Details box. This lets you choose whether or not the file(s) and folder(s) can be edited, and who can access it.
The choice for Who would you like this link to work for are the same as above. The default share type is Allow editing; uncheck the box if you wish to disable this option. Click Apply when you’re finished.
Paste the link (Ctrl+V or right-click and choose Paste) wherever you’d like – text message, email, social media, website, etc.
Notes from Microsoft:
- The permission granted by a sharing link lasts only as long as the link exists. For example, when a link is disabled, access is revoked (though people may still have access to the file via other means).
- When Allow editing is selected: After they sign in, people in your organization can edit, copy, or download the files. When Allow editing isn’t selected, people in your organization can view the file but cannot make changes. However, they can still copy or download the files.
- You may be able to share files with external users (people not on your network) by inviting them as “Guests,” or by creating and posting guest links. These links are available by default in Office 365, but administrators can disable external sharing for your sites. For details, see Share SharePoint files or folders in Office 365.
- Site administrators can restrict sharing so that only owners can share files and sites. For information about an admin can enable sharing links, see Video: Share a site without access request.