
How To Shrink Images in WordPress
Images add a lot to a website, but they also take up more space than most other content (with the exception of audio and video files). Obviously, the larger the original picture size that you upload, the larger the file size. Since most accounts have a limit on disk space, the best way to prevent running out of allotted space is to make the images smaller.
If you already know about clicking on the image and dragging it smaller, that is great, but that does not change the size of the original picture; it still uses the same amount of disk space. To change the file size, follow the steps below.
Step One: Go To Media Library
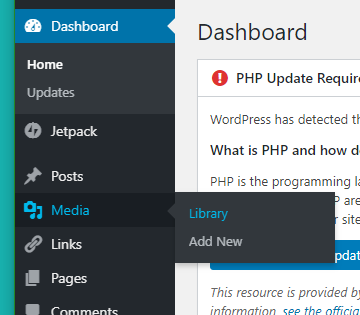
In your dashboard, hover over Media and it will pop out a menu to the right. Click on Library.
Step Two: Edit Image
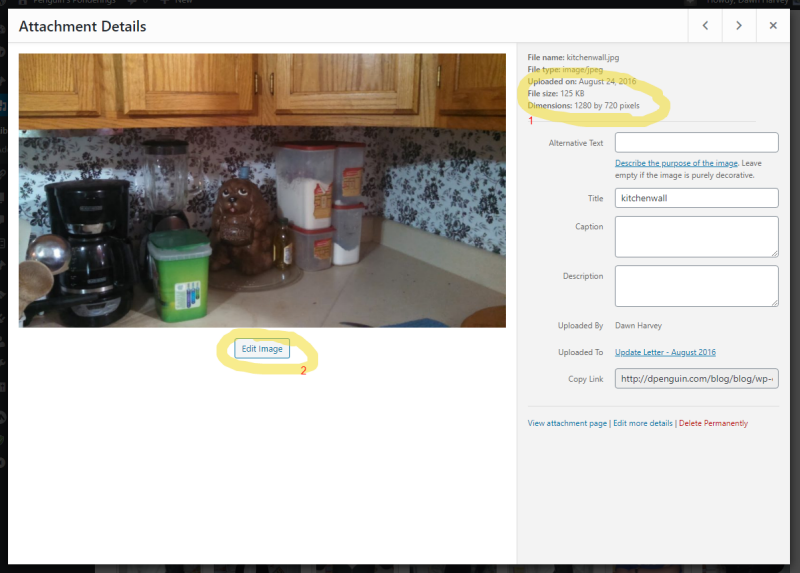
If you look at the upper right of the image above, you will see a yellow circle and a red number 1. This shows you the original dimensions of the image at which you are looking, and just above that, the actual file size.
Below the image, you will find a button that says, “Edit Image.” (See yellow circle and red number 2). Click this button.
Step Three: Change Size
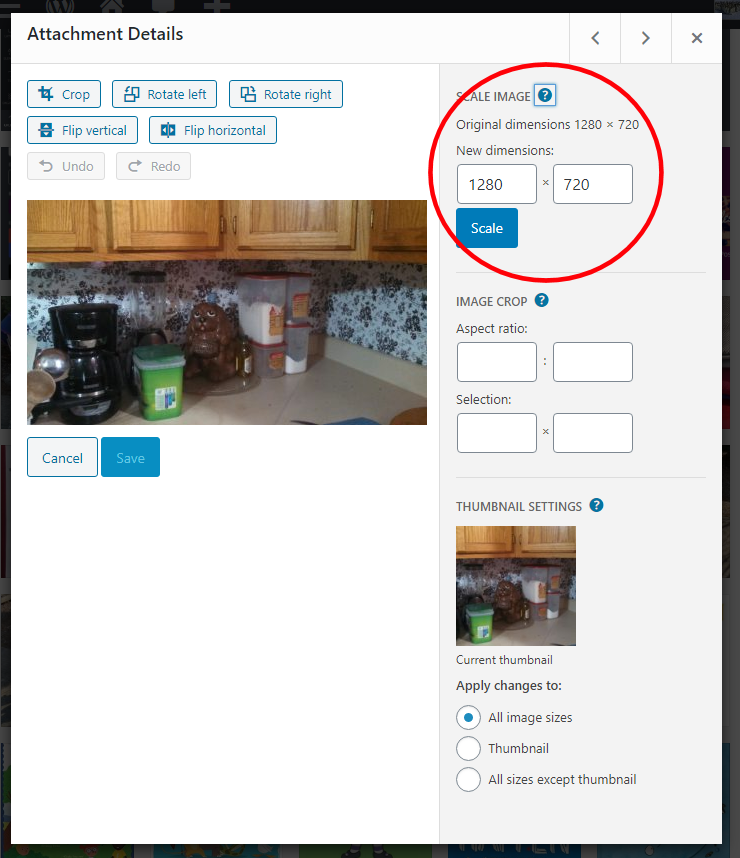
You will notice in the image at left above that the original size is listed in the boxes. It is generally best to choose the larger number (in this case, the width) and adjust it to an appropriate size, which will automatically adjust the smaller number, which keeps the image in the same ratio (which means it will not look squished), as shown in the image at right above. Click “Scale” to complete the process.